Get started
Create a SwiftUI project in Xcode IDE.
Follow these steps to create a new SwiftUI app project in Xcode.
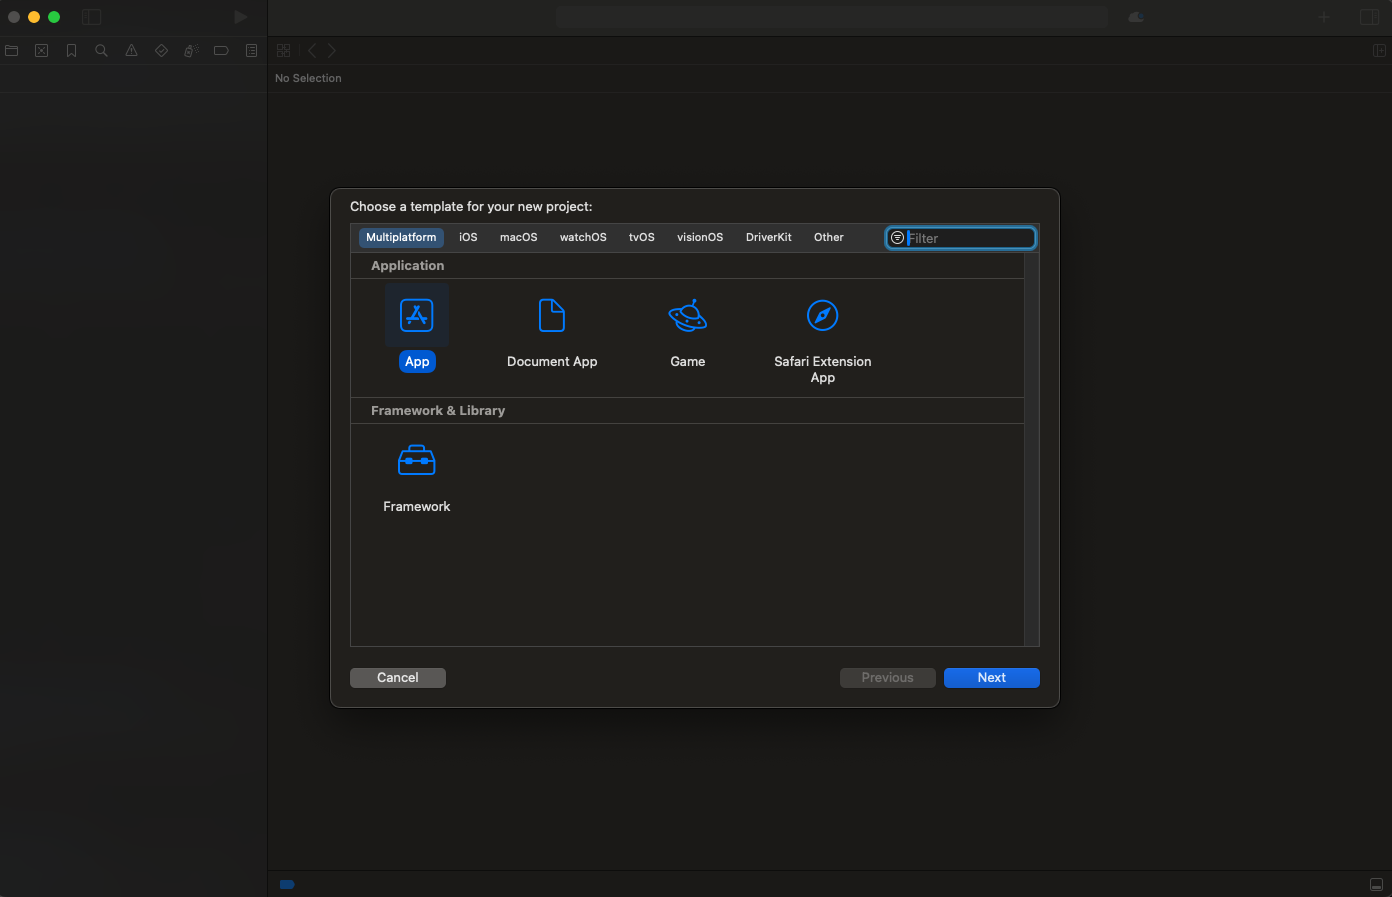
1. Open Xcode and start a new project:
-
Select App under the iOS tab and then click the Next button.
2. Configure your new project:
- Enter the name of your application. For this tutorial, we will name it MyContactApplication.
- Set the Team if you have a registered Apple Developer account. If not, you can leave it as "None".
- Ensure the Organization Name is set to your name or your organization’s name.
- Ensure the Organization Identifier is set to a unique identifier for your app, typically in reverse domain name format, like com.example.MyContactApplication.
- Ensure the Interface is set to SwiftUI.
- Ensure the Language is set to Swift.
- Click the Next button.
3. Choose a location to save your project:
- Select a directory where you want to save your new project.
- Click the Create button.
Congratulations! You have successfully created your Xcode project.
Proceed to the next step: Setting Up Dependencies.